
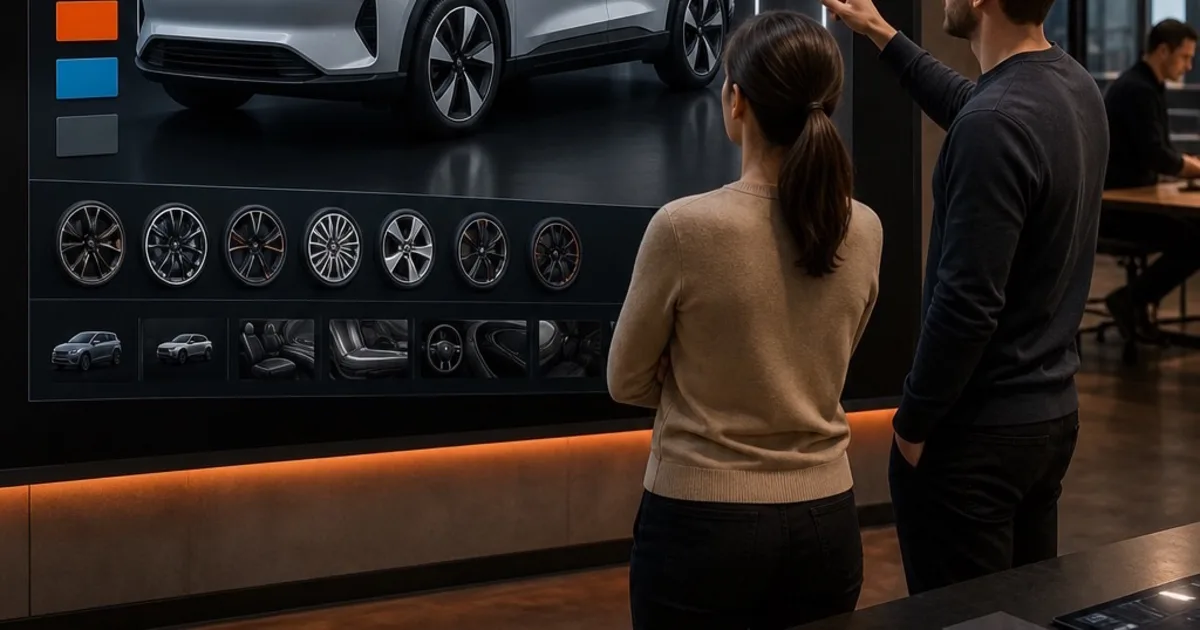
Spin a virtual car, swap the paint, change the wheels, look inside the cabin — a 3D car configurator turns that into an interactive showroom on a screen. It lets people browse models, test options, see the result in real time, and move toward a quote or a dealer visit.
Here is what sits underneath one, and what to decide before you build.
What Is a Car Configurator 3D?
A car configurator is an interactive tool that lets a shopper build a vehicle from approved options — model first, then paint, trim, wheels, seats, packages and accessories. The main view updates as those choices change. A shopper can rotate the car, zoom into details, switch to the cabin, or place the vehicle in a digital setting. Better systems also surface price changes, technical specs, range data, and a path to request a quote.
Think of it as three connected layers:
- 3D model — the vehicle split into parts that can change without rebuilding the whole scene.
- Interface — buttons, swatches, menus or touch controls that expose the available options.
- Business logic — rules that stop users choosing combinations the manufacturer does not sell.
That last layer is the one that decides whether the project succeeds. A visual mockup will happily let a user pick any colour with any trim. A production system has to know which combinations are valid in a given region, model year and market — and pass the final selection to a quote form, a dealer system, or a checkout flow.
How the Browsing and Customization Flow Works
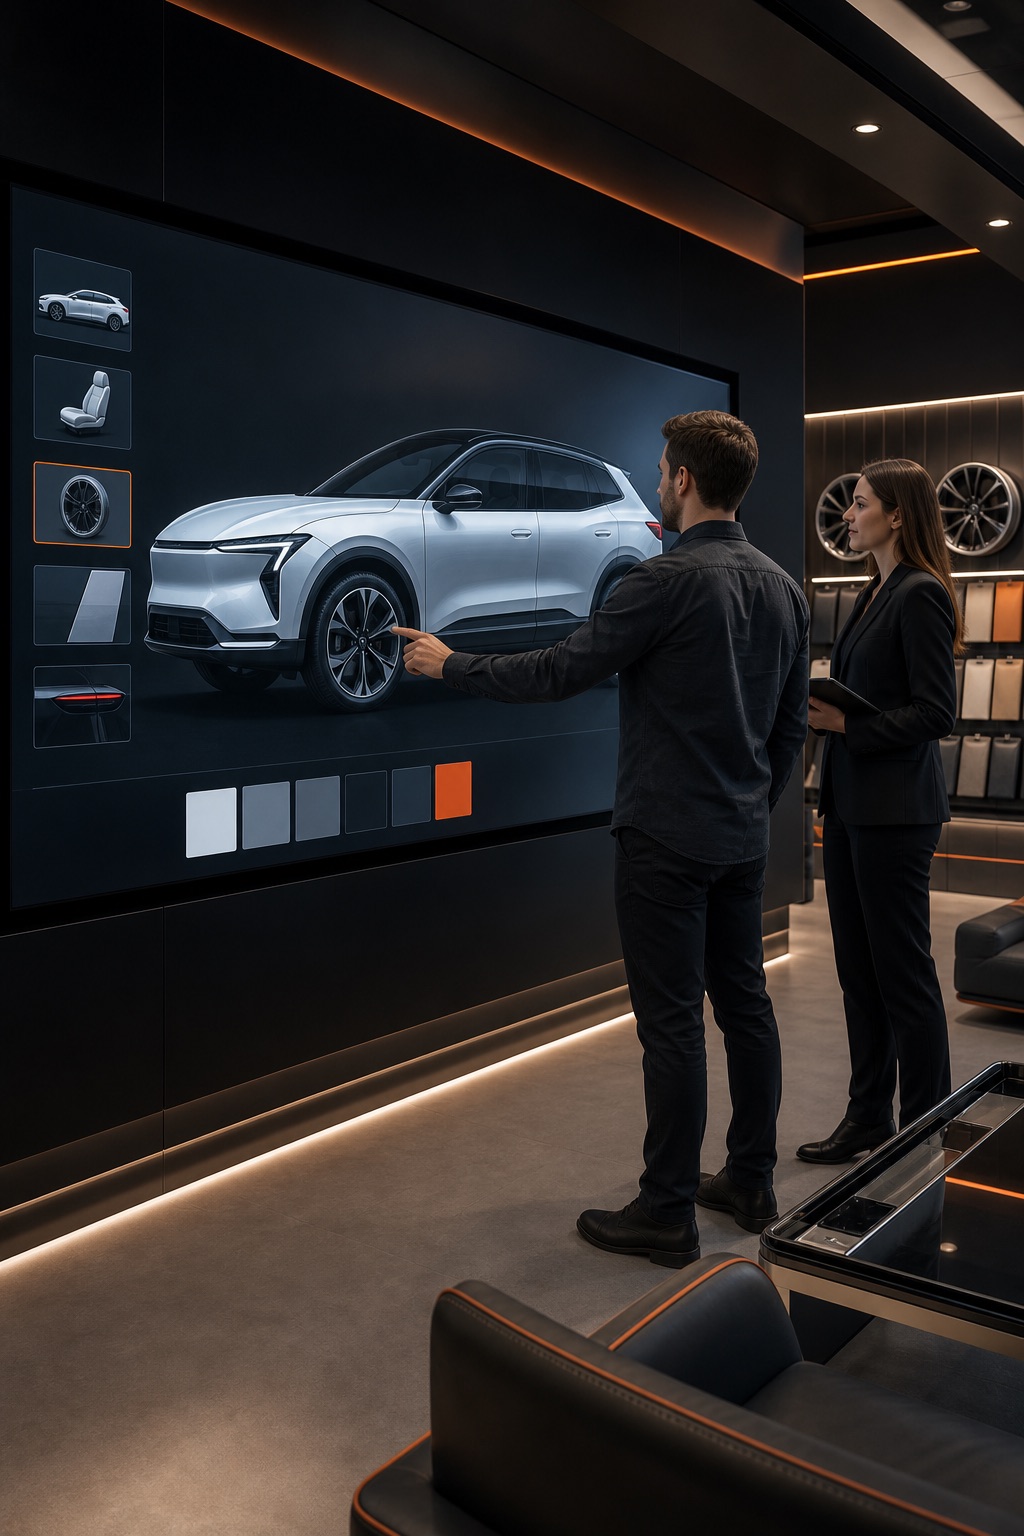
Browsing comes first — a shopper has to find the right vehicle before the visual layer can help them decide anything. A clear flow usually starts with model selection, filtered by body type, budget, powertrain, seating, or new versus used stock. Once a model is picked, the system loads the options tied to it.
Customization then follows a deliberate order: exterior paint on one screen, wheels on the next, then interior materials, seat types, packages and accessories. That sequencing keeps the choice set manageable and gives the system a clean record of what was selected.
The visual result has to change immediately. Tap a dark paint swatch and the body material changes. Select a new wheel and the mesh swaps in. A cabin view updates seats or trim without forcing the user off the page.
All of that depends on how the assets were authored. Every changeable part needs a clear name, a material setup, and a rule telling the engine when to show it. A model built as one solid object photographs beautifully and cannot be configured at all. Our guide to how 3D product configurators work covers the same structure across other product categories — the principle holds everywhere: the model, the controls and the option data have to agree.
Good browsing also keeps context visible. Specifications, a gallery, a feature summary, a regional price view — these belong beside the 3D scene, not buried behind it. For electric vehicles a configurator may go further, comparing charging or fuel assumptions or mapping charge points in a chosen area. Those need current data and clear limits, so scope them as separate services rather than decoration.
The Technology Behind Real-Time Vehicle Rendering
Real-time rendering is what makes the configurator feel responsive — the browser or display redraws the vehicle as the user moves the camera or changes an option.
The asset layer comes first. Artists typically start from CAD data and prepare it for interactive use, separating body, glass, lights, wheels, seats, dashboard and every other independently controlled part, then reducing heavy geometry where fine detail will never be seen.
The rendering engine is second. It handles light, materials, shadows, reflections and camera movement. A browser build has to balance visual quality against load time — a model that looks superb on a workstation can perform badly on a common laptop.
WebGL gives browser applications GPU-accelerated drawing for interactive 2D and 3D graphics; it is the bridge between the page and the device's graphics hardware. Our comparison of Unity WebGL versus a native app covers where browser delivery stops being the right answer.
Cloud streaming is the alternative route. Instead of asking the visitor's device to render the scene, a remote machine renders it and streams the result. That supports far heavier scenes, but the project has to account for network latency, video quality, per-session cost, and who can actually reach it.
AI can help around the edges — drafting interface copy, sorting an asset checklist, suggesting labels. It should not decide which vehicle options are valid without review from the product or engineering team. A wrong trim rule is a sales problem, not a design quirk.
Where These Experiences Get Used
The right format depends on where the user is standing, what they need to decide, and what happens after the session.
| Use case | Best delivery format | Key design need | Common failure |
|---|---|---|---|
| Public vehicle browsing | Browser-based WebGL | Fast load, clear filters | Heavy assets wreck mobile |
| Dealer consultation | Touch screen or desktop | Shared controls, saved builds | Staff can't recover a failed session |
| Launch or event demo | Large display or kiosk | Short guided journey | Visitors queue too long |
| Fleet sales | Browser with quote workflow | Rules, regions, exportable data | Choices never reach sales staff |
On a website the goal is reach — a shopper opens it from a campaign, product page or dealer link, with no app download, but the scene still needs hard mobile and desktop testing. In a dealership, a large touch screen becomes a shared surface for a sales conversation. At a motor show, visual impact leads and lead capture must stay fast; a long form turns a good demo into a queue. Fleet and commercial buyers need something different again — body type, range, cargo space, regional rules, and the ability to save or export a structured brief for a group of vehicles rather than one personal build.
Planning the Project
Start from the decision the user has to make. A visual product page, a dealer sales aid, a lead tool and a full quote system are four different scopes.
Build the option model first. List every choice, grouped by vehicle, exterior, interior, package, accessory, market and price rule — then mark which combinations are allowed. This exposes hidden complexity early: a red paint available only on one trim, a wheel that requires a specific tyre, an accessory that changes price but not the 3D scene. The product data has to carry those rules even when the interface looks simple.
Choose the delivery path on evidence, not screenshots. WebGL when broad browser reach and zero install matter most. A native app when you need controlled hardware, offline use, or a device-specific workflow. Cloud streaming for scenes browsers cannot render well on your target devices. Test a small scene on the real network, screen and device — measure load time, camera response, memory use, and recovery after a dropped connection.
Connect the next business action before designing the interface. A saved build should create a quote request, send a build code to a dealer, add a lead to a CRM, or move a verified selection into checkout. Decide what data passes through first. Keep personal data collection short until the user shows real intent, and define who owns that data, how long it is kept, and which teams can see it.
For a first release, a focused model with a small set of approved options beats a large catalogue. Add variants once the asset pipeline, the product rules and the lead flow actually work together.
Build Yours
Our 3D product configurator development work covers vehicles and every other product category — from a single hero model to a multi-market catalogue, delivered with no installation required.
Bring a vehicle model, an option list, and the action you want after configuration. Book a free consultation and we will tell you what it takes to build it: scope, delivery path, and whether a proof of concept on one model is the smarter first step.